


A Mechanic’s Guide to Loosening the Most Stubborn Bolts
The first thing that comes to mind when you are standing in front of a stubborn bolt that is not moving is to grab the largest wrench you have and lean into it. It is no wonder he reacts that way, but he tends to lose his head or his fasteners. You are not supposed to blow out after which you should cool down and prepare. A prudent, step-by-step planning will save you almost always time, finances, and frustration in future.
Critical Preparation Processes
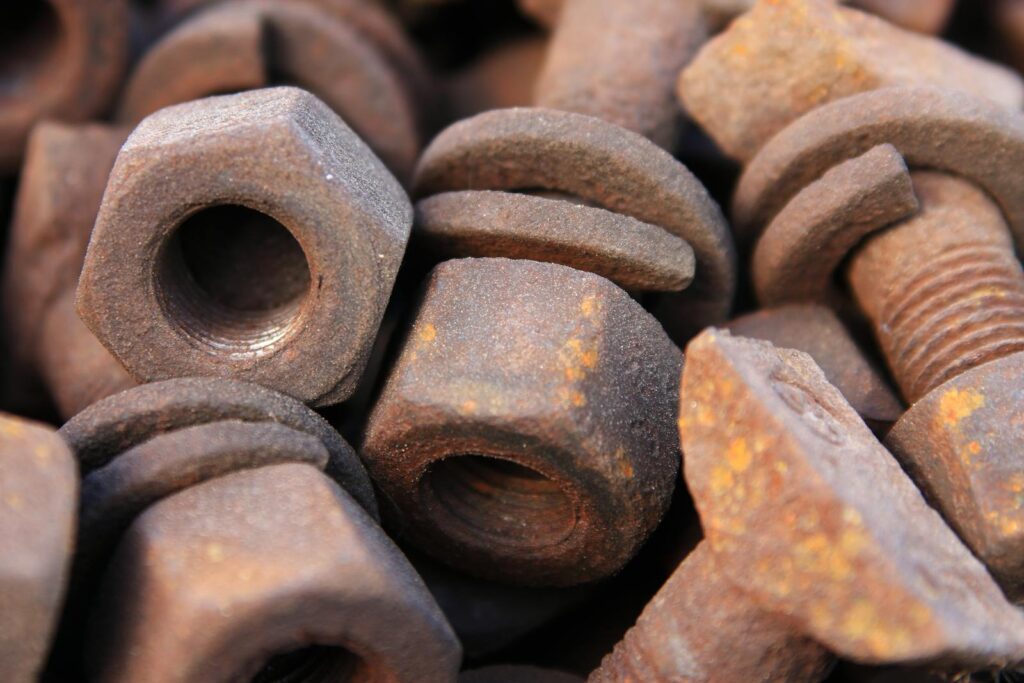
- Wipe dirty and rusty parts of the bolt
- Cleanse a hard wire brush well
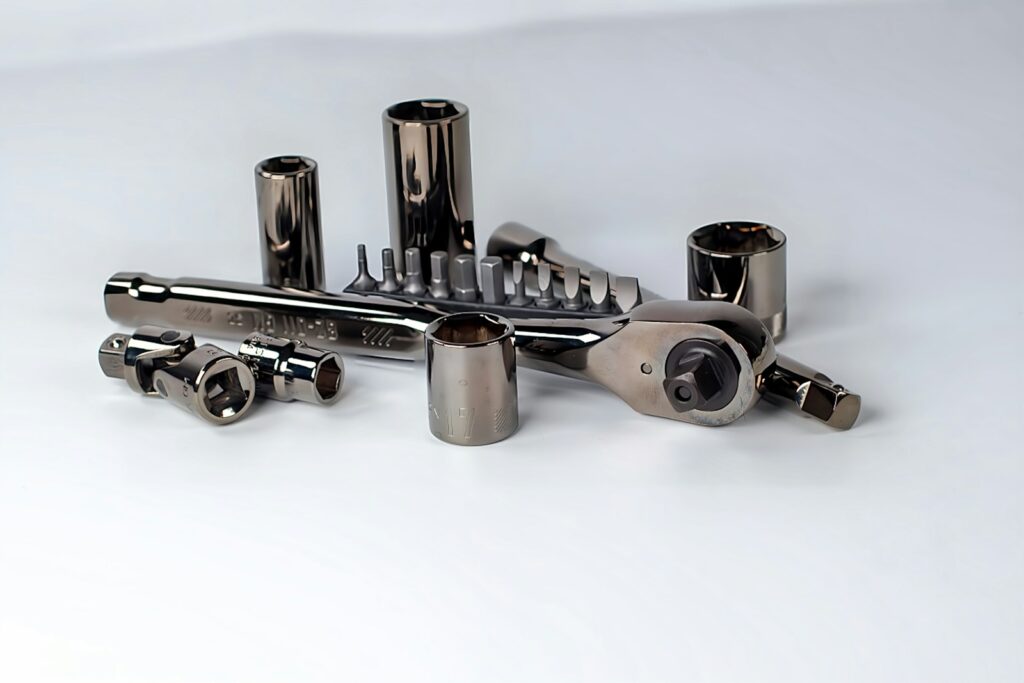
- Select the right size wrench or socket
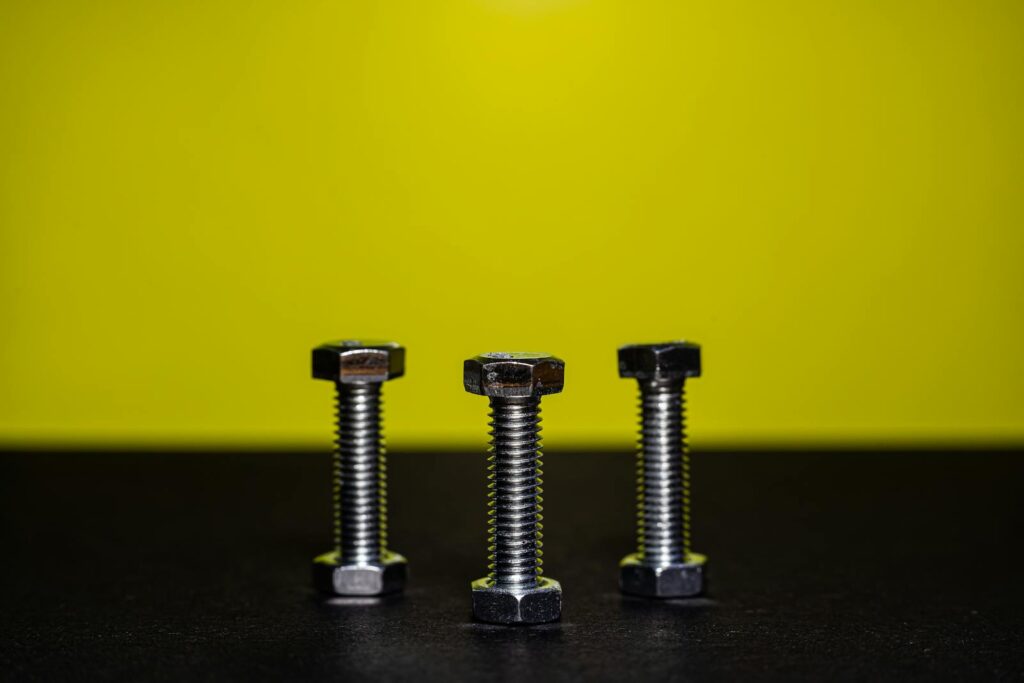
- Use a six-point socket to hold on to
- Make sure that the tools fit snugly before use
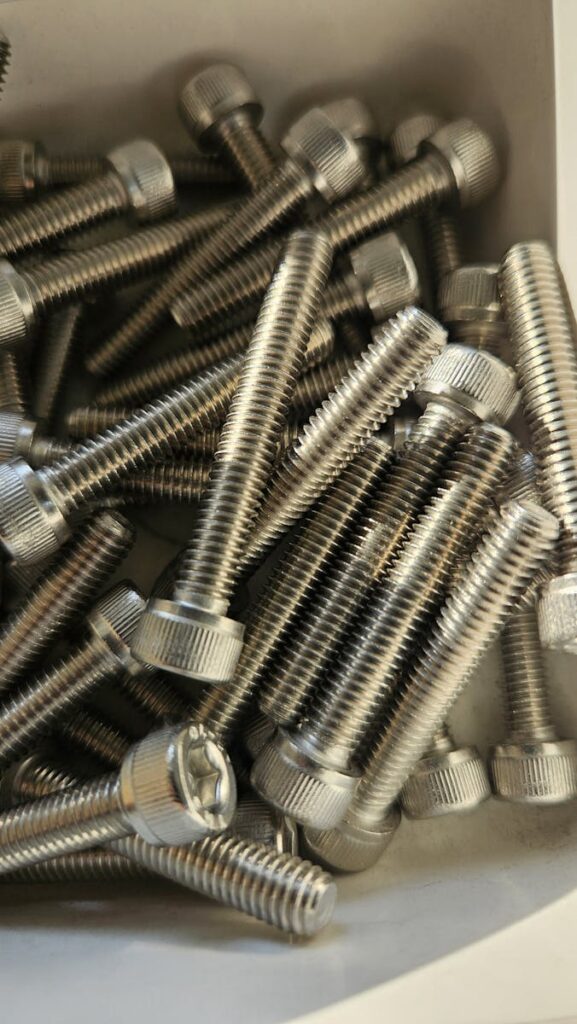
Wipe the surface of a bolt beforehand with a stiff-bristle wire brush. Cleaning off dirt and rust helps in enhancing the tool contact and penetrating fluids are able to flow into the open threads. The choice of an appropriate tool is also very essential. A six point socket clams the flat sides of the bolt head and distributes the force evenly and minimizes pressure rounding the edges.
1. Application of Penetrating Oils
Chemical help is your second friend after you clean the bolt and the bolt is available. Even though it is natural to run to the general-purpose sprays, not even all lubricants are the same. Ordinary sprays can minimise friction but highly rusted bolts need specialised penetrating oils which are designed so as to dissolve corrosion and creep into microscopic pores by capillary action.
Penetrating Products Recommended
- WD-40 for light lubrication
- Liquid Wrench rust-breaker
- Deep corrosion PB Blaster
- Maxfilm Royal Purple heavy-duty
- Minimum soaking time is 20-30 minutes
Liberally apply the penetrant on the threads and bolt head. Then wait patiently. It is better to allow at least 20 to 30 minutes before giving the fluid, this would enable the fluid to penetrate and loosen the rust bond. There is no use hurrying up this step. At other times, a lot of patience can create the distinction between an easy removal and a fastener that is broken.

2. Add Torque and do not cause damage
Once moist, it is possible to add mechanical force, though technique is more important than physical power. Torque is proportional to leverage and thus the longer the handle of your wrench the more torque you get to turn. Nevertheless, tools may be damaged or shear bolts may be destroyed by uncontrolled leverage. You must take your time and build up instead of using one great burst and then being unable to sustain it.
Tools for Safer High Torque
- Long-handled socket wrench
- Dedicated breaker bar
- Cheater bar extension of hollow pipes
- Appropriately rated heavy wrench
- Controlled body position through stability
The breaker bar can be considered safer to use than a homemade extension due to its capacity to handle heavier loads. Use consistent pressure rather than pushing and pulling movements. In case the bolt does not give easily, wait and re-evaluate instead of coercing it. Having too much work at this level can turn a fixable issue to an expensive maintenance bill.
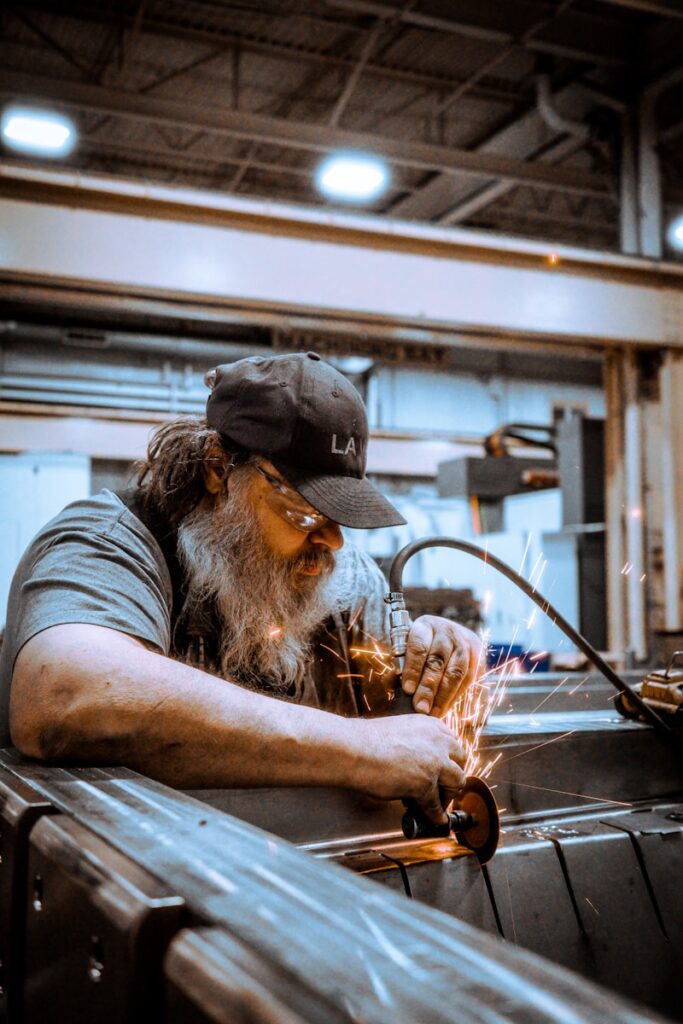
3. Shatter Static Friction through Impact
Upon the failure of steady torque, sharp impacts may cause disruptions to corrosion bonds more efficiently. A hammer blow on the head of the bolt causes micro-fractures on rust layers. These vibrations also assist penetrating oil in penetrating into the threads deeper. It is not aimed at bending the bolt but shocking the corrosion so that it becomes loose.
Impact-Based Techniques
- Strike bolt head 6-12 firm blows
- A standard hammer or mallet should be used
- Test an air hammer with more vigor
- Take an impact wrench with high torque
- Strike and reapply penetrant
The impact wrenches are especially efficient as they can provide repeated bursts of rotational force but not constant pressure. This hitting of the hammer breaks the stagnant friction better. In many cases, there are enhanced results when impact is used coupled with penetrating fluid rather than just using one or the other procedure.
4. Rock the Bolt Back and Forth
Rather than trying to take the bolt off all in a single movement, a rocking approach will work. Start loosening it a little till there is resistance. Then loosen it back a little. Do this step of forward and behind slowly with a broadening of the distance between the turns. This is a controlled method of breaking corrosion, but it does not overstress the fastener.
Managed Relaxation Strategy
- Turn half a turn counter-clockwise
- Reverse direction briefly
- Movement incrementally
- Apply penetrant as threads are seen
- Do not push with great difficulty
The technique minimizes the chance of breaking the bolt due to the absence of the maximum force in one way. Penetrating oil should be added as new threads appear. The bond deteriorates over time so that the fastener can dissipate without disaster.
5. Grip Broken Bolt Tops Successfully
In case the bolt head has already been rounded off, the common sockets will slide in vain. Specialised gripping tools will be necessary in this case. Vice-grip pliers are tight-fitting clamps creating tension on damaged surfaces and pipe wrenches are tighter biting as they are tighter. These are usually the last non-destructive measures before they can be used to go to extraction methods.
Tools for Rounded Fasteners
- Locking vice-grip pliers
- Heavy-duty pipe wrench
- Bolt extractor sockets
- Wrench with full-fine bite
- Minor rounding with rubber band trick
Clamp and exert slow steady pressure. Be sure that the tool is perfectly seated on the bolt head and then turn. Sudden jerks may aggravate the injury. Provided that it is slipping, proceed as soon as possible to superior solutions instead of destroying the rest of the fastener.
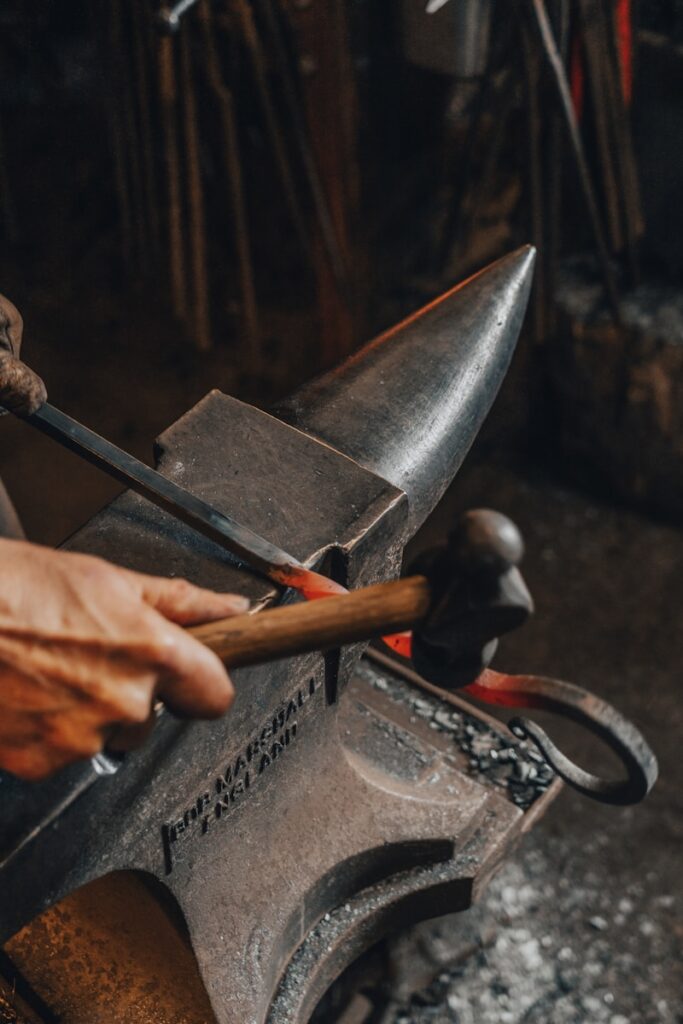
6. Use Heat to Loosen Corrosion Bonds
The next strategy to adopt when chemicals and mechanical force are at the extreme is controlled heat. To expand a metal of a replaced bolt, it is heated using a propane torch. As it cools, it contracts. This expansion and contraction cycle splits the rust bond on the molecular level and usually liberates the fastener where other techniques could not.
Safe Heat Application Steps
- Apply a propane torch of 10-15 seconds
- Avoid overeating to cherry-red
- Alternating nutrition and bolt
- Eliminate penetrants that are inflammable
- Water spray is a quick method of cooling
Results can be increased by thermal shock. Spraying water after heating leads to rapid contraction which further cracks corrosion. It is always advisable to wipe flammable chemicals prior to applying flame. Heat must be regulated and carefully not too high to prevent any harm to the surrounding parts or change in the structural integrity of the bolts.
7. Use Screw Extractors for Broken Bolts
If the bolt head snaps off entirely, extraction tools become necessary. A screw extractor features reverse threads designed to bite into a drilled pilot hole. Begin by drilling precisely into the centre of the broken shaft. Accuracy is critical; off-centre drilling can damage the component’s original threads.
Extraction Process Overview
- Drill a centred pilot hole
- Insert reverse-thread extractor
- Turn counter-clockwise steadily
- Apply firm, even pressure
- Avoid snapping the extractor
As you rotate the extractor, it grips internally and applies torque from within the bolt. Maintain consistent pressure. Hardened extractors are brittle, and breaking one inside the bolt creates an even more difficult repair. Patience and control are essential at this stage.
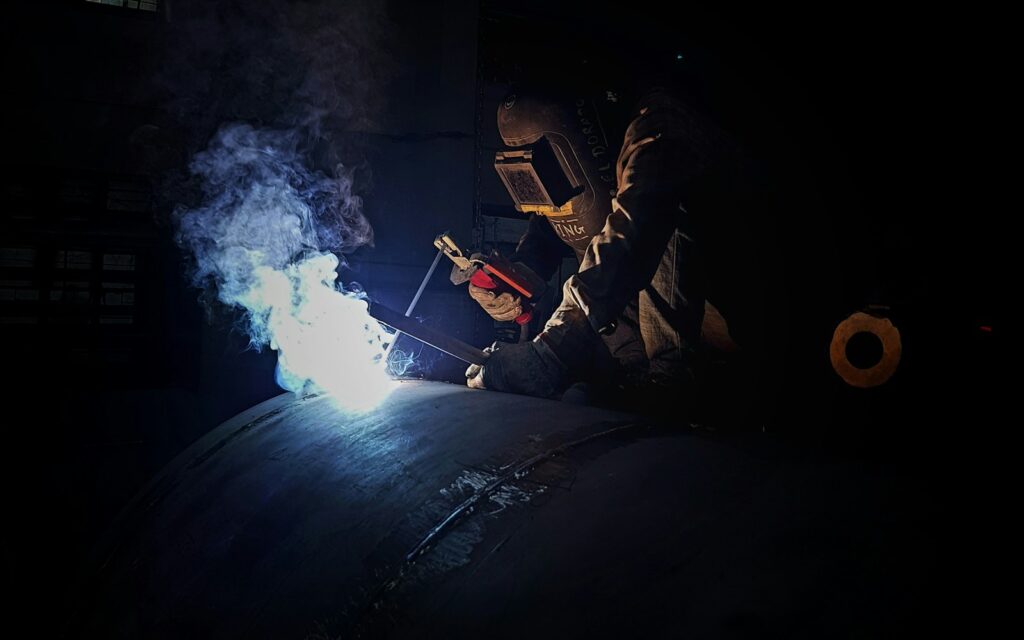
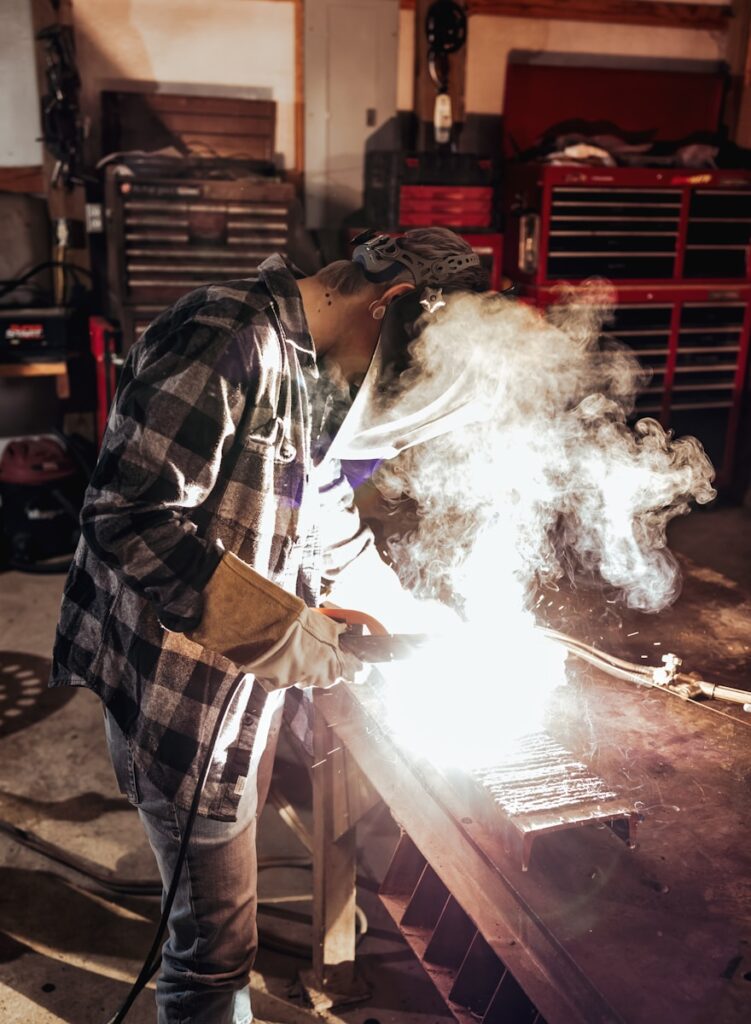
8. Welding a New Nut for Maximum Grip
For larger bolts with damaged heads, welding offers a powerful solution. By welding a new nut onto the existing stud, you achieve two benefits simultaneously. The heat from welding disrupts the corrosion bond, and the new nut provides a fresh gripping surface for a socket or wrench.
Benefits of Welding Technique
- Intense heat breaks rust bond
- Provides new hex surface
- Allows standard socket use
- Effective for heavy-duty bolts
- Combines thermal and mechanical force
Once cooled slightly, attach a properly sized socket and apply steady torque. This method is particularly effective for automotive and structural bolts where access is adequate. It merges physics and practicality into a highly reliable removal strategy.
9. Destructive Removal as a Last Resort
If all else fails, destructive methods may be unavoidable. At this point, preserving the surrounding component becomes the priority. Strategic relief cuts made with a reciprocating saw or cutting tool can release tension. Alternatively, drilling out the bolt entirely converts it into removable metal fragments.
Final-Stage Removal Methods
- Cut relief slots into nut or head
- Split fastener with chisel
- Drill progressively larger pilot holes
- Remove remaining thread fragments
- Re-tap threads for new bolt
Drilling requires precision and patience. Start small and gradually enlarge the hole until the bolt disintegrates. After removing fragments, clean the threads using a tap to restore functionality. Though time-consuming, this approach salvages the component when nothing else works.
10. When Cutting Is the Only Option
In extreme situations where drilling is impossible, cutting through the bolt shaft may be necessary. A reciprocating saw fitted with a metal-cutting blade can sever the fastener directly. While effective, this approach is destructive and leaves you with a remaining stud to address afterward.
Cutting Technique Essentials
- Use metal-rated reciprocating saw blade
- Protect surrounding components
- Maintain steady control while cutting
- Remove separated parts carefully
- Prepare to replace damaged hardware
Though it represents the final escalation, cutting guarantees removal. Even the most seized bolt is not truly permanent. With patience, preparation, and the right progression of methods, you can overcome nearly any stubborn fastener without unnecessary damage or frustration.


