


Installing a Home EV Charger: A Guide to Costs and Savings

You have probably already learned about the convenience of charging your vehicle at home, which is why you have recently purchased an electric one, or have considered buying it in the nearest future. It is comforting to wake up with a full battery every morning without having to hunt down public stations or fear about the range anxiety on your daily commute. A home charge is typically faster and cheaper than a public one, particularly in the case of an adequate installation. But to be fair, the most common concern of the majority of people is the initial price. How well are you really reading to install a good home charger?
The average cost of a Level 2 home EV charger install is projected to be between approximately 2,000 and 5,000 depending on equipment capacity and location according to the electricity system and the state in which you reside. The positive side is that, with proper planning and a little research, most people are able to cut out a large fraction of that amount 50-70% at times. I have interviewed too many EV owners who began to be concerned with the cost but later came out excited after seeing the savings accumulate so fast due to the reduced fuel bills and intelligent incentives. The trick is knowing what influences the price and what you can smartly cut without affecting the performance or the safety.
1. The case of why Home Charging Is a Good Idea to Majority of EV owners
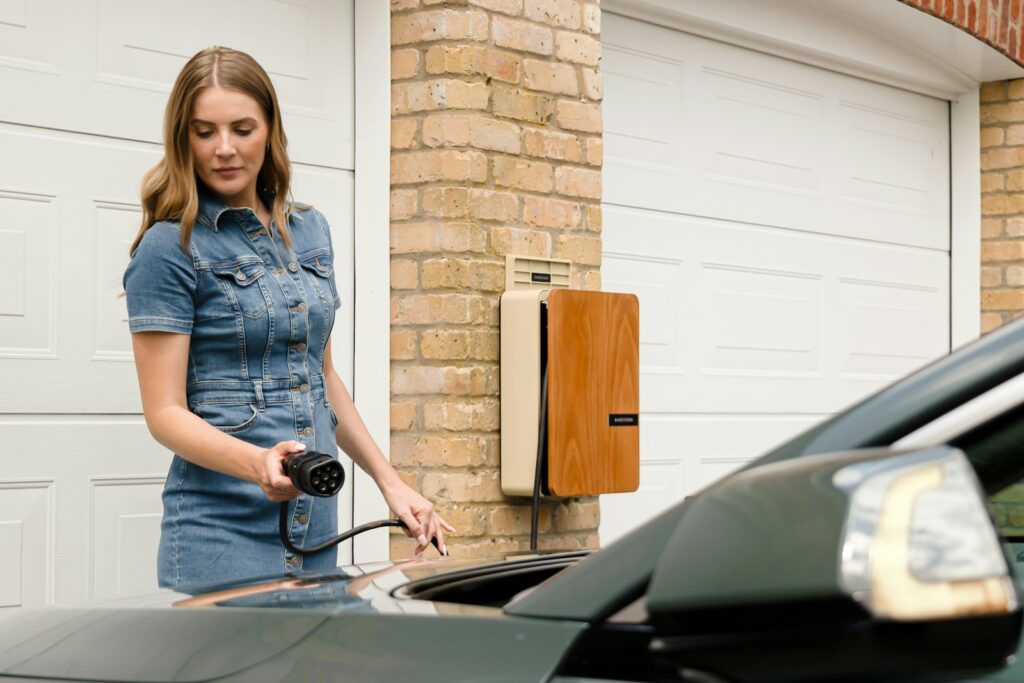
In case you have switched to an electric car or you are strongly considering it, you must have probably already experienced how comfortable it is to be able to charge at home. It is truly satisfying to drive into your driveway, plug in and know that you will wake up with a full battery and not even leave the house. There is no longer a need to worry about the closest public charger being turned off, no need to stand in a queue on a chilly morn, no unexpected charges taking away profits out of your pocket. Home charging is more convenient to life when it comes to daily driving.
In the long-run the figures are still better. The price of electricity at home is often half as much as in a fast charger in the open, and EVs themselves are significantly less expensive to fuel than gasoline vehicles are. This is all compounded by the fact that with less maintenance (no oil changes, fewer brake jobs due to the regenerative braking system), and the fact that a good home installation can be a silent addition to your property value in the contemporary market, the entire process begins to seem not so much of an expense as it is an upgrade that is practical. I have watched neighbors transform their scepticism into fanaticism regarding it after they hooked up several months of carefree mornings.

2. Disaggregating the Major Cost Elements
An approximate install cost of a Level 2 home charger tops approximately at 2,500 to 4,800 dollars in 2025, but in the real sense, it is a collection of smaller items. The charger itself is a small portion of it good units will be around 400 dollars and more than 1200 to buy the smart features. Then there is the labor of the electrician, and this is frequently 500-1500 dollars on the basis of the complexity of the job that occurs and the length of time it takes.
Then there are the supporting costs most people do not expect, wiring, conduit, breakers and materials can be as much as $300 800 and permits, inspections and any municipal paperwork usually run between 100 and 500. However, the actual budget-buster is the electrical panel at your home should it be old or undersized, you can find yourself adding another 1500-3000 to the price in an instant no matter your intentions. The simple fact of having a licensed electrician take a look at your setup and provide you with a realistic load assessment before you lay it down on the line is the most intelligent thing you can think of to do so you have the number of surprises to a minimum.
Significant Components which create the Final Price:
- Charger unit: $400-1200 according to amps and smart power.
- Electrician work: $500-1,500 to do pro wiring and plumbing.
- Materials and wiring: $300800 conduit, cable, breakers, etc.
- Permits and inspections: $100 -500 to satisfy local electrical code.
- Possible panel upgrade: $1,500 -3,000 in case your existing service is not able to support the load.

3. Selecting the appropriate Level and Type of Charger
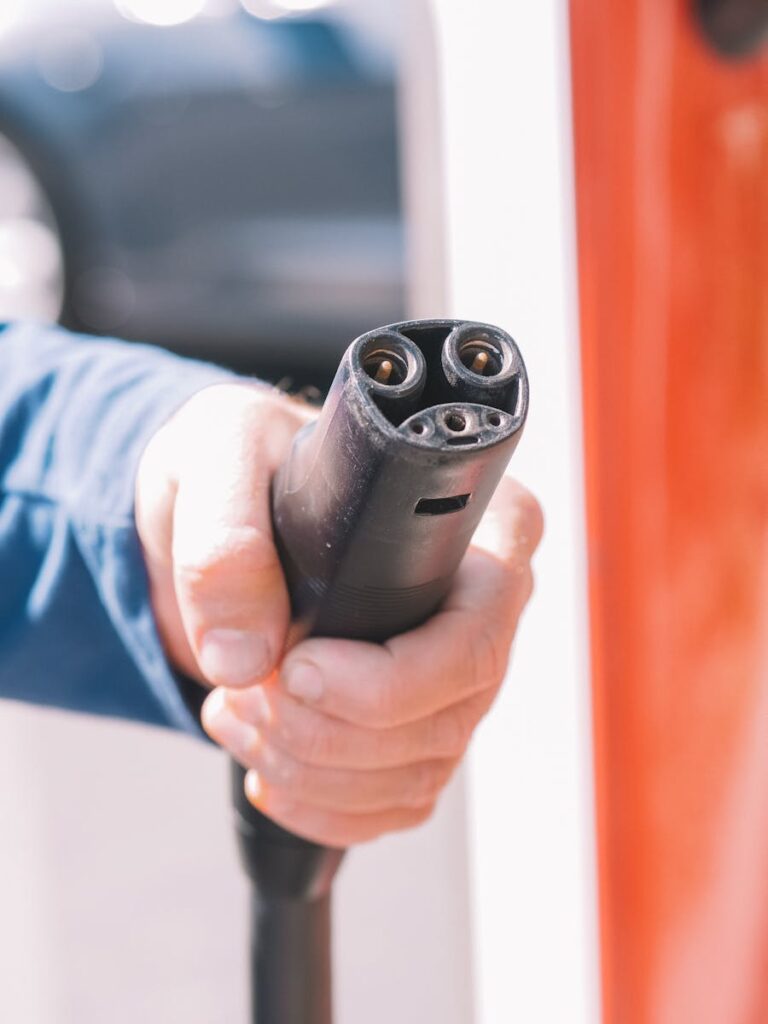
A majority of new EV owners begin with the Level 1 charger that was included in the trunk that it is plugged directly into any standard 120-volt household power outlet and does not need any additional installation. It can be used when in a jam, but the charging rate is excruciatingly slow: you can be lucky to get 2-5 miles range per hour. It does not take long to realize that Level 1 is in fact merely an emergency back-up rather than a solution to anyone who drives more than a couple of errands a day.
This is the reason why the great majority of individuals who become serious about home charging make a direct jump to Level 2. These units are powered by 240-volt power (the same you use with your electric dryer or oven) and will provide a significantly more helpful 2550 miles range per hour of usability. Overnight is actually feasible you can even charge a battery that is almost empty overnight. The Level 2 world has options, though, with basic models maintaining a straightforward and cheap setup, and smarter ones, which offer app control, scheduling, and energy tracking which can ultimately save you money every month.
Core Options at a Glance:
- Level 1 charger: Slow (2–5 mi/hr), usually included free with the vehicle.
- Level 2 advantage: Fast enough (25–50 mi/hr) for everyday overnight use.
- Basic 32-amp models: Budget-friendly ($400–$650), no-frills reliability.
- Smart 40-amp chargers: Best balance of speed, features, and value.
- Premium 48-amp units: Fastest home option, ideal for multiple EVs or heavy use.
4. Smart vs Basic Chargers: Which Offers Better Value?
I remember when I first looked at chargers, thinking a basic one would do the trick since all I needed was something to push power into the battery overnight. Basic Level 2 models are straightforward they plug in (or hardwire), deliver solid charging speeds without any fancy extras, and keep the upfront price low, usually landing in that $400–$650 sweet spot. They’re reliable workhorses, especially if your routine is predictable and you don’t care about remote controls or tracking every kWh.
But after talking to a few owners and seeing my own electric bill, I came around to smart chargers pretty quickly. For an extra couple hundred bucks say $650–$900 for a good 40-amp unit you get WiFi, a mobile app to schedule charging during off-peak hours, energy usage reports, and sometimes even integration with utility demand-response programs. Those features aren’t just gimmicks; they can shave $200–$400 off your annual electricity costs by automatically timing charges when rates are lowest. For most people, that makes the slightly higher initial spend feel like the smarter long-term play, especially if you plan to keep the car (and the charger) for years.
Why Smart Features Often Win Out:
- App scheduling: Charge only during cheap off-peak times automatically.
- Energy monitoring: Track usage and spot inefficient patterns easily.
- Utility perks: Qualify for rebates or rewards from demand-response programs.
- Remote control: Start/stop charging from your phone if plans change.
- Future-proofing: Over-the-air updates keep the charger current longer.
5. Plugged-In vs Hardwired: Installation Choices
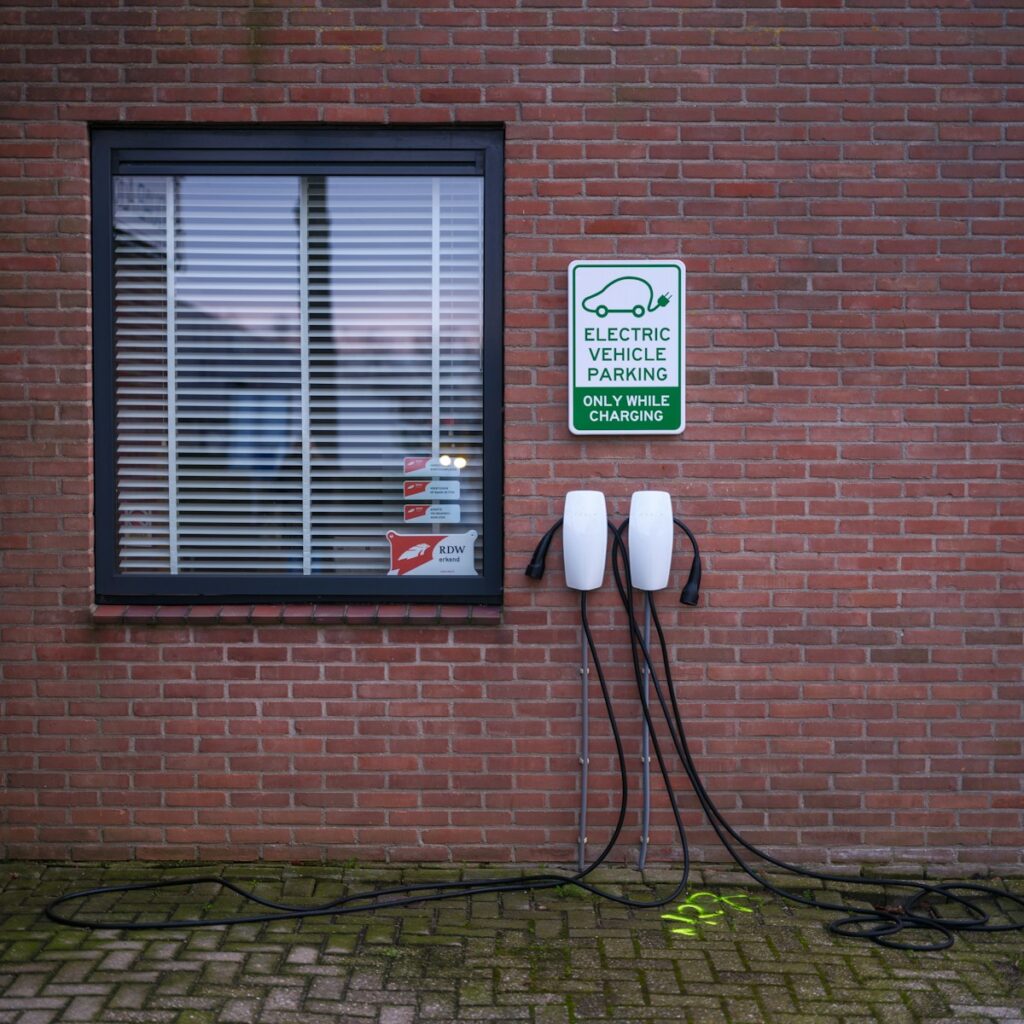
Deciding between a plugged-in or hardwired setup is one of those details that feels minor at first but really matters once everything’s in place. With a plugged-in charger, you (or rather, your electrician) installs a dedicated 240-volt outlet think NEMA 14-50 or similar and the charger unit just plugs into it like a big appliance. The big win here is flexibility: if you move, want to take the charger to a new garage, or need to swap it out for repairs or an upgrade, it’s straightforward without rewiring anything.
Hardwired chargers skip the outlet entirely the unit gets wired straight into your electrical panel or a junction box. This often makes the installation a touch cheaper (no extra outlet hardware) and gives a cleaner, more permanent look, especially outdoors where codes might require it anyway. It’s less portable, sure, but many folks prefer it for that “set it and forget it” vibe. Either option works great for home use; it mostly boils down to whether you value movability or a simpler, potentially lower-cost permanent setup.
Quick Pros and Cons Comparison:
- Plugged-in flexibility: Easy to remove, relocate, or replace the unit.
- Lower long-term hassle: Swap chargers without calling an electrician again.
- Hardwired cost edge: Often skips outlet parts and GFCI breaker extras.
- Cleaner outdoor install: Preferred or required in many weather-exposed spots.
- Code and safety fit: Hardwired avoids plug wear; plugged-in needs proper breaker.
6. Assessing Your Home’s Electrical System First
One thing that trips up a surprising number of people is assuming their home’s electrical panel is ready for prime time. If your house is older say, built before the 1990s or already has a full load from AC, appliances, and lights, adding a Level 2 charger (which pulls 30–50 amps continuously) can push things over the edge. The result? A surprise panel upgrade that adds $1,500–$3,000 (or more in some cases) to the project, turning what felt like a straightforward job into a bigger expense.
The fix is simple but non-negotiable: get a licensed electrician out for a proper load calculation before you buy anything. They’ll check your current service (100-amp? 200-amp?), see what headroom you have, and tell you if tweaks like a subpanel or load management device will do the trick instead of a full replacement. Doing this early saves headaches, keeps the install safe and code-compliant, and lets you budget accurately instead of crossing your fingers. I’ve heard too many stories of folks who skipped this step and ended up delaying their EV excitement by weeks while waiting for upgrades.
Steps to Avoid Panel Surprise Costs:
- Early load assessment: Have an electrician evaluate capacity upfront.
- Check amperage service: 200-amp panels handle chargers better than 100-amp.
- Consider subpanel option: Cheaper alternative to full main panel swap.
- Load management tech: Some chargers share power to avoid overloads.
- Safety first: Ensures reliable operation without tripping breakers.

7. Timing Your Installation for Maximum Savings
Timing really can move the needle on what you end up paying it’s not just about picking a good contractor; it’s about when the whole industry is busiest or quietest. From what I’ve seen and heard from electricians, winter months (think December through February) often bring the lowest rates because demand drops off a cliff fewer people want crews digging trenches or running wire when it’s cold and snowy. You can sometimes see 20–35% off labor compared to peak times, which might translate to $600–$1,200 saved on a typical job.
Spring tends to hit a nice middle ground: weather cooperates, contractors aren’t slammed yet, and you avoid the summer rush where schedules stretch out weeks and prices climb. Another smart angle is lining up with tax deadlines finish before December 31 to claim any credits on that year’s return or before summer electricity rates spike around June, so you can start optimizing your charging right away. It’s little strategic moves like these that turn a decent deal into a great one without cutting corners on quality.
Smart Timing Strategies to Cut Costs:
- Winter slowdown: Lower contractor rates from reduced demand.
- Spring sweet spot: Balanced availability and favorable weather.
- Skip summer peaks: Avoid higher prices and long wait times.
- Year-end push: Complete by Dec 31 for current tax-year benefits.
- Pre-rate-hike install: Beat summer electricity increases for immediate savings.

8. Layering Incentives to Slash Upfront Costs
One of the biggest “aha” moments for a lot of EV owners is realizing how much money is sitting there in incentives if you actually go look for them. Way too many people stop at the obvious federal option and miss the rest, leaving hundreds or even thousands behind. The federal Alternative Fuel Vehicle Refueling Property Credit gives 30% back on qualified costs (hardware plus install), capped at $1,000 per port, but it’s location-based and has a deadline (install by mid-2026 in most cases to qualify).
The real savings come from stacking: combine that federal credit with state rebates, local utility programs, and sometimes even municipal grants. In places like California or New York, folks have knocked their net cost down to under $1,000 by layering everything strategically. It takes a bit of digging check your utility website, state energy office, and tools like the DOE’s incentive finder but the payoff is huge. I’ve seen neighbors cut their bill in half just by applying to a couple extra programs they didn’t know existed.
Ways to Stack Savings Effectively:
- Federal credit: 30% up to $1,000 for qualified home installs.
- State programs: Rebates or grants varying by location (often $500+).
- Utility rebates: Hundreds from local providers for approved chargers.
- Layering approach: Combine multiple sources for maximum reduction.
- Research tools: Use DOE/IRS sites to find what applies to you.
9. Safe DIY Preparation to Trim Labor Costs
One of the best-kept secrets for keeping installation costs down is handling some of the non-electrical prep work yourself safely, of course. This isn’t about playing electrician; licensed pros still have to do all the wiring, connections, panel tweaks, and final testing. But you can knock out tasks that would otherwise rack up extra labor hours, potentially saving $800–$1,500 depending on the job’s complexity.
Things like clearing the spot where the charger will go, running protective conduit along walls (without pulling wires), digging a trench for underground lines if needed, or even pouring a small concrete pad for a pedestal mount are all fair game for a handy homeowner. The key is knowing the boundary: never touch live wires, breakers, or anything that requires a permit-level skill. Safety directors and inspectors I’ve spoken with emphasize that about 40% of the grunt work can be DIY without risking safety or code issues, as long as you stop short of the electrical side.
Practical Prep Tasks You Can Handle Yourself:
- Clear installation area: Remove obstacles for easy access.
- Install protective conduit: Run empty sleeves for future wiring.
- Dig trenches if needed: For underground runs to the charger spot.
- Pour concrete pad: Stable base for pedestal-mounted units.
- Stay in bounds: Leave all wire pulling and connections to pros.

10. Thinking Long-Term for Maximum Return on Investment
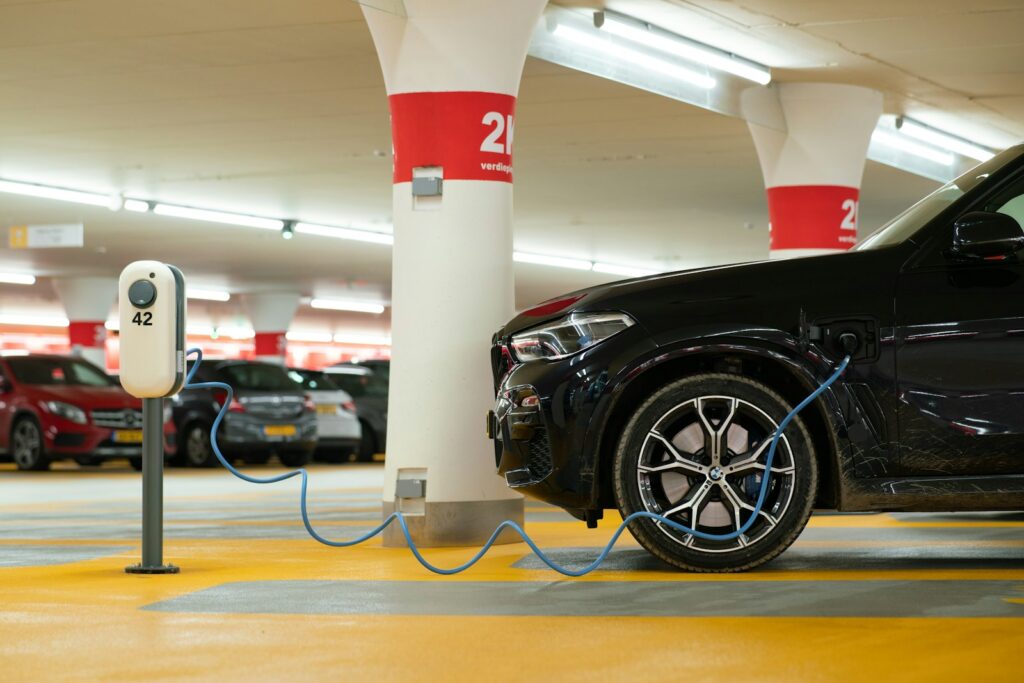
Once the charger’s up and running, the real payoff starts rolling in not just from cheaper “fuel” but from smart choices that keep costs low for the next decade. Smart chargers that sync with time-of-use rates from your utility can automatically shift charging to off-peak hours, often saving $300–$600 a year without you lifting a finger. If you’ve got solar panels (or plan to add them), pairing the setup can drop your charging costs to near zero on sunny days.
It’s also worth spending a little extra upfront on future-proof details like oversized conduit that makes adding a second charger easier later, or an extra circuit in case you upgrade to faster tech or get another EV. Experts in the field often say the most economical installs are the ones designed with 10-year flexibility in mind; a few hundred bucks now can prevent thousands in rework down the road. When you step back, home charging isn’t just a convenience it’s one of those upgrades that quietly pays dividends year after year.
Long-Term Strategies to Boost Savings:
- Time-of-use integration: Auto-charge during cheapest electricity windows.
- Solar pairing potential: Offset or eliminate charging costs with home generation.
- Oversized conduit: Easier upgrades or second-EV additions later.
- Extra circuit planning: Avoid major rewiring for future needs.
- Lifetime mindset: Small upfront extras prevent big expenses over time.


