


A Comprehensive Guide to Cleaning Your Car’s Wheels
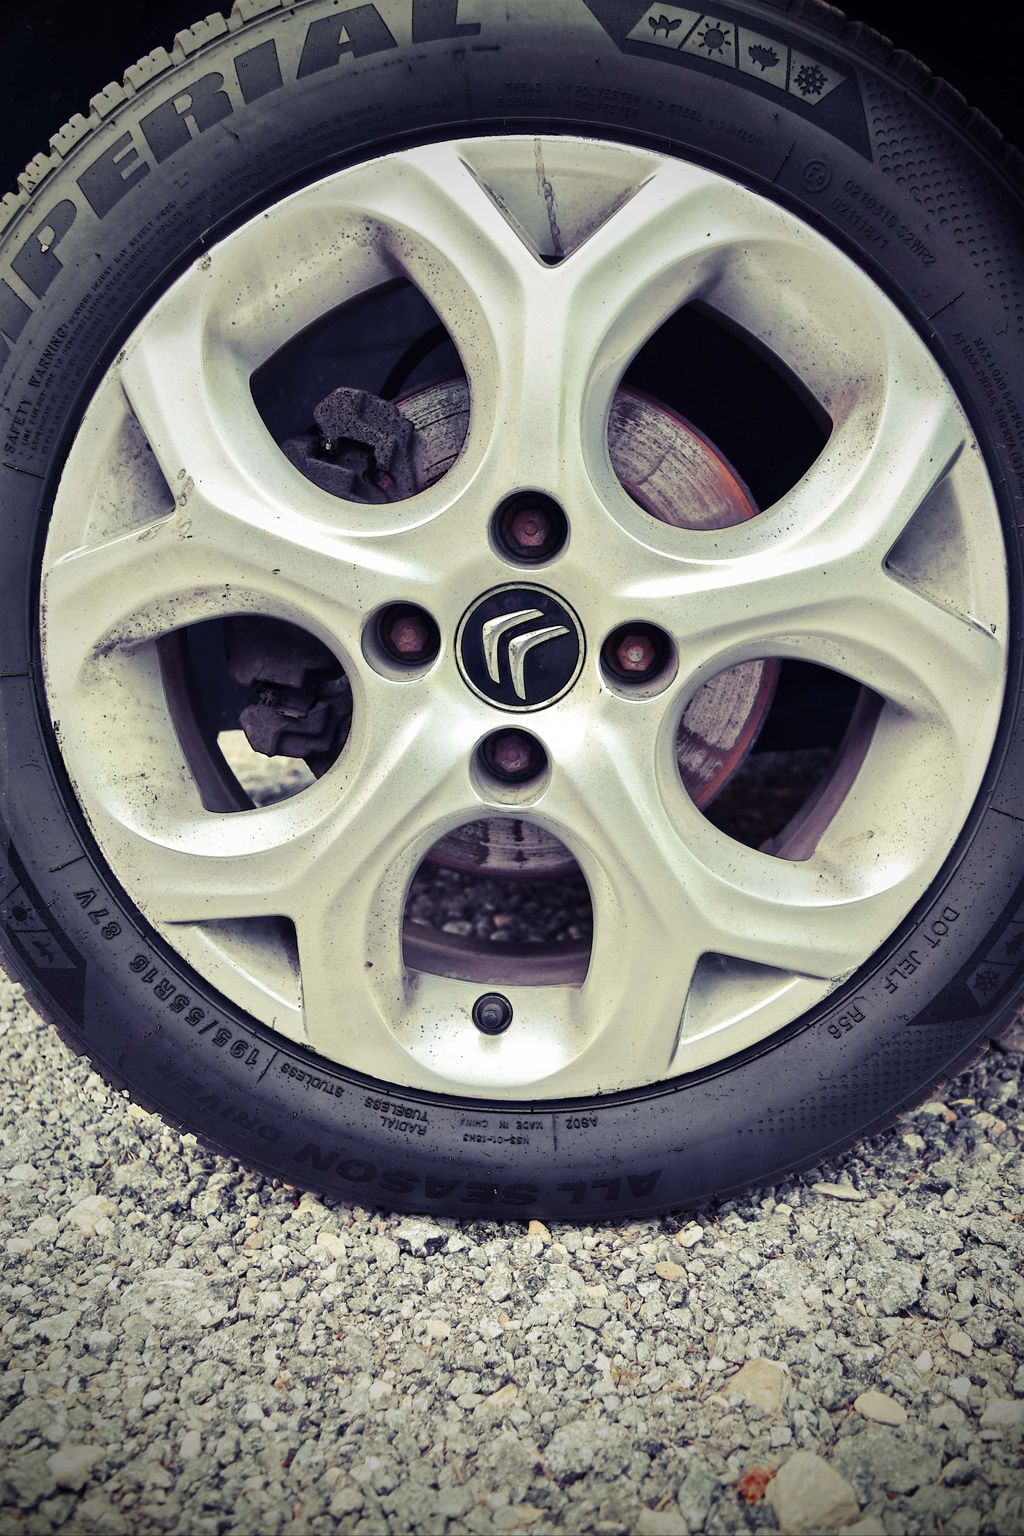
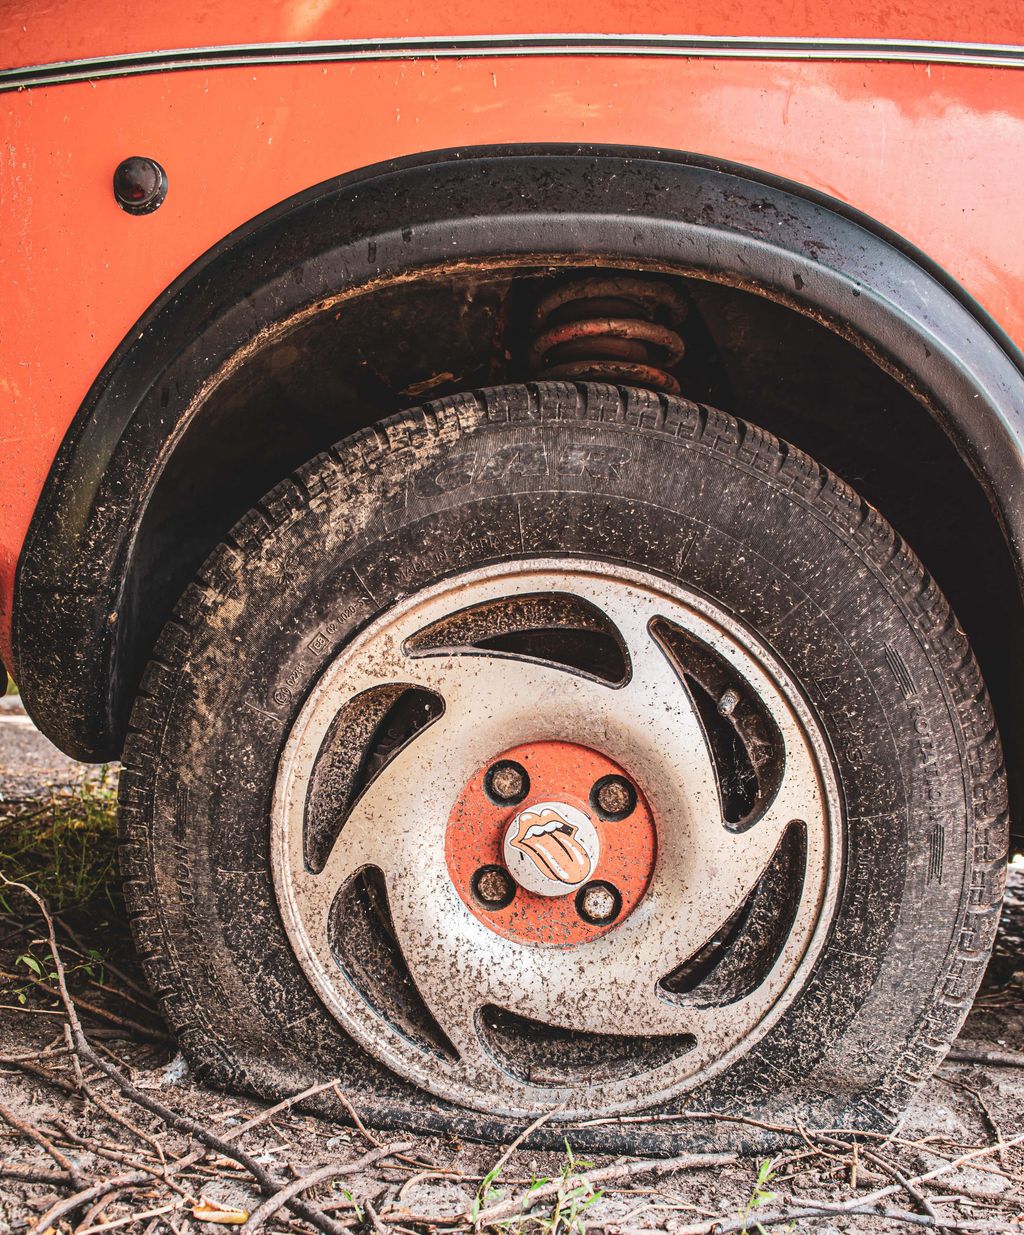
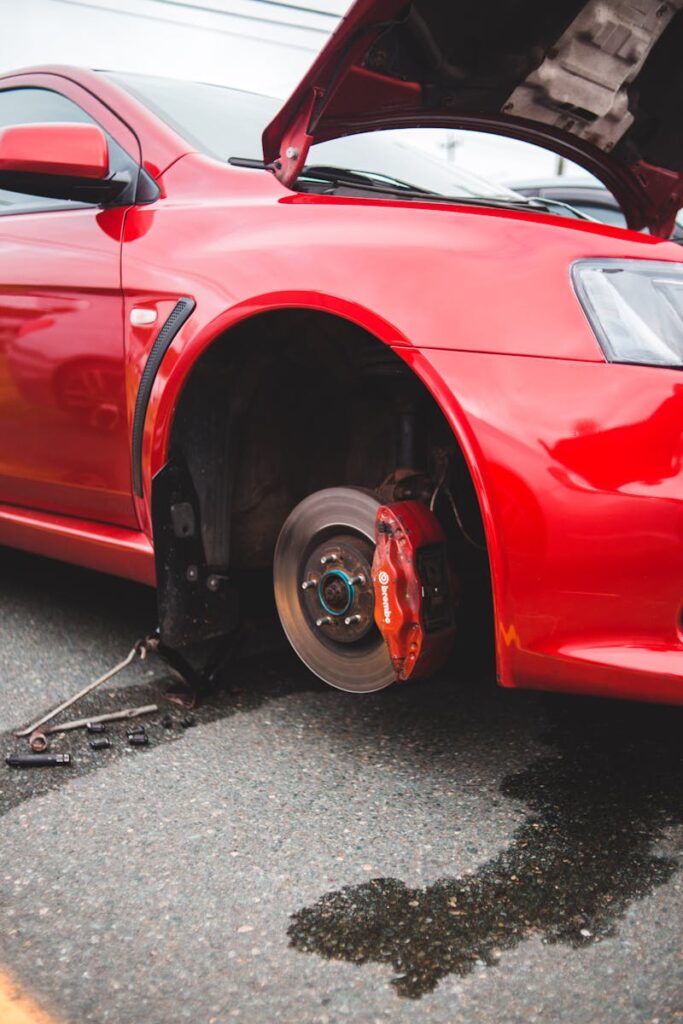
There is nothing like a freshly washed car that can appear fresh and sharp due to a good wash as compared to when those wheels remain full of thick, grayish-black brake dust making everything look half finished. Brake dust This is the metallic dust that is difficult to clean, or remove, and is a result of your brakes being very active and therefore, every single time you slow down or stop. It sticks on the rims like glue, and in a jiffy, shiny alloys have been reduced to dull and dirty messes. I have looked at my own wheels when I have just been out driving, and wondered, how did I get them in such a condition so soon? It is not only ugly, but, when you leave it long enough, you can find the corrosive dust drilling holes in the finish on the wheel and leaving permanent scars.
The good thing is that you do not have to be a professional detailer to repair it. You will be able to restore those wheels to almost new appearance with a little patience and the proper tools at hand without much danger of damaging them. It is all about taking one step at a time because you know your type of wheel, choosing non-hazardous materials, and working with soft equipment rather than rough force. Bypass the shortcuts and you will save yourself in the long-run both in terms of headaches and money.
These are some of the fast reasons why cleaning of the wheels is more than meets the eye:
- Brake dust is acidic and may ruin a wheel finish.
- Cleaning wheels will make your car look much better.
- Frequent cleaning will avoid accumulation that will be difficult to clean up later.
- Correct maintenance will keep costly alloy rims permanently etched.
- Intensive washing saves a lot of time taken by the subsequent cleans.

1. Determine Your Type of Wheel Before You Take the Wheel
The cleverest step anyone can take at first, is to determine what type of wheels you have. The majority of the cars come out with either steel wheels (they are usually basic and usually painted, usually under the hubcap), aluminum alloy wheels (which are the most common in the current cars, with that retro silver or machined appearance), or even chrome-plated which reflect like mirrors. One time I thought that my rims were so hard that nothing could damage them and I found out that the paint on steel wheels scratches far easier than I would have guessed. It only takes two minutes to check on your owner manual and avoid expensive errors.
All the materials respond differently to cleaners and brushes. Basic painted steel wheels require softer treatment and alloys and chrome can normally take tougher stuff without any objection. This is a mistake which can leave you with swirl marks, or faded spots or even worse. When you are certain of what you are handling everything becomes smooth and unthreatening.
Fast Ways of Identifying Wheel Types:
- Steel: typically black-coloured, commonly having hubcaps.
- Alloy: Silver/grey, multiple spokes a typical feature.
- Chrome: Shiny mirror-like surface.
- Check manual or search stamped material.
- Keep trying in case of doubt.
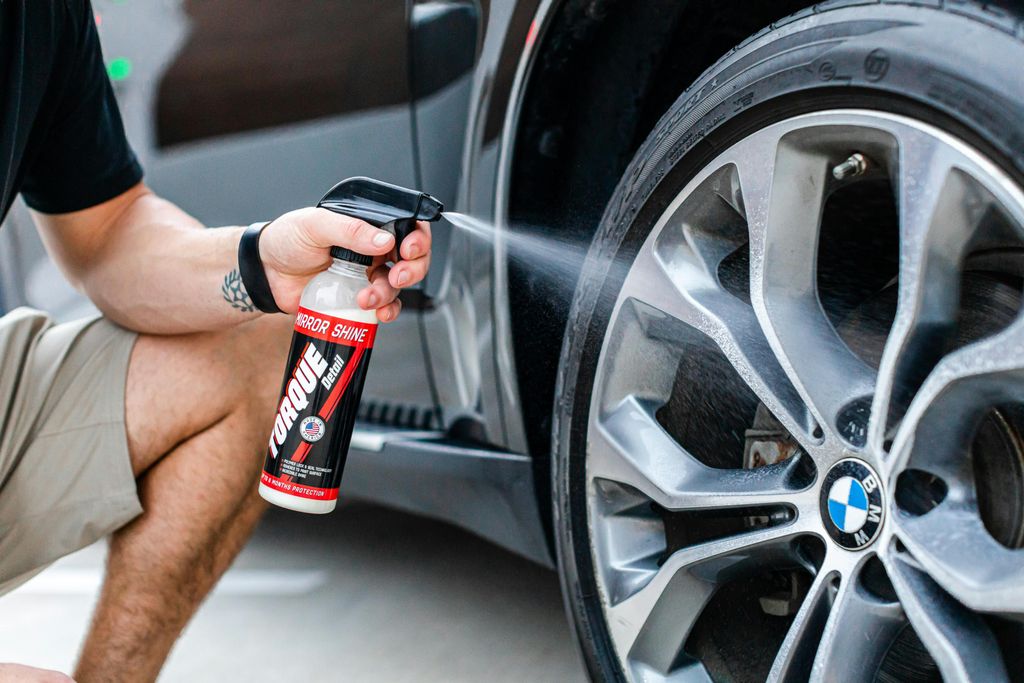
2. How to select the Right Wheel Cleaner
Now that you have the type of wheel to use, the other critical choice will be a cleaner that fits perfectly to the job yet not harmful. It is full of products some general, some only used to deal with brake dust, some specializing in chrome or alloys. I prefer to begin with a pH-balanced, non-detergent wheel cleaner, which can be used on most surfaces, and it eliminates dirt without being too harsh. When the wheels are very neglected, then a more powerful brake dust remover miraculously works wonders, though you must be careful, as they might eat paint should they splash on the body.
Do not be tempted by a one-stop-shop wheel-and-tire product they tend to leave an impression or discolour tires with use. Closely label read, and when you have fancy wheels (painted, powder-coated, polished) use cleaners that say that they are safe on such finishes. A small study now would save a lot of regrets in the future.
Best Practices on the choice of Cleaners:
- Find product to wheel material (e.g., chrome-specific).
- Favors PH-neutral as a daily wear.
- Take heavy brake dust concentrated formulae.
- Do not use tire dressing combinations in order to avoid browning.
- Always should be tested on a small area.

3. Collecting the Proper Cleaning Tools
After identifying the type of cleaner you need and identifying the cleaner that is correct, the next task is to ensure you have the right tools. Attempting to wash the wheels using only a common sponge or an old rag normally results in frustration of the tight spokes, lug nuts and deep barrels which hold the brake dust in places otherwise inaccessible without the required equipment. A sturdy hose, a good spray nozzle are not negotiable, the former allows you to spray a loose dirt away at the beginning and liquidate all the dirt, which leaves no traces at the end.
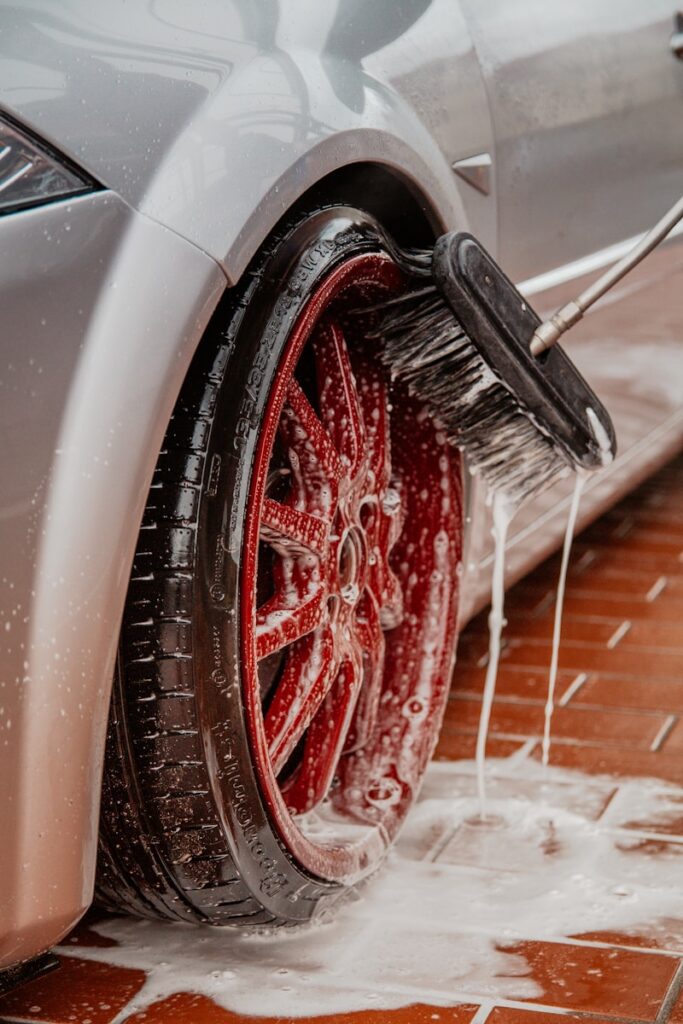
The brushes that you use have the biggest effect to whether your wheels will be clean or scratched. Most rims are not compatible with hard, stiff-bristled tire brushes that will produce swirl marks or even be worse. Rather, use medium-soft wheel brushes which are capable of developing the dirt without causing harm. The long, bendy barrel brush is used to get inside the wheel, the hair brush of a smaller boar is very helpful in the small areas surrounding the lug nuts and the gingerest of finishes are usually best suited to a microfiber wash mitt. The presence of these limited tools will make a potentially painful task easy and efficient.
Tools necessary to clean the wheels:
- Hose having adjustable spray nozzle.
- Wheel brush- medium soft bristles.
- Hair brush that Boar uses in tight spots.
- Long flexible barrel brush
- Microfiber wash mitt of the sensitive finishes.
4. The Cleaning Process in a Step-by-Step
Now that you have gathered your supplies, it is time to actually clean up and the sequence in which you go about it is quite important. In order to prevent chemical spotting or streaking, it is useful to start on cold wheels (never immediately after driving when they are hot). Begin by a good rinse with your hose and spray nozzle. Spray all areas of the wheel to clean off any loose dirts on the wheel and road dirts. This step is not only on the easy stuff but also this keeps you from grinding the particles of the abrasive into the finish when you later start scrubbing, this action sets the surface wet which allows the cleaner to penetrate the surface better.
Now apply your chosen wheel cleaner. Spray it on evenly, working your way around the entire wheel and making sure to get into all the crevices, lug nut wells, and between the spokes where brake dust builds up the most. Be extra careful with overspray some powerful cleaners can damage your car’s paint if they sit on it too long, so keep a bucket of water and a mitt nearby to wipe off any splashes immediately. Let the cleaner dwell for the time recommended on the bottle (usually 1–3 minutes) so it has a chance to break down the stubborn, baked-on grime.
Key Steps in the Cleaning Sequence:
- Rinse wheels thoroughly with cool water first
- Apply cleaner evenly to the wet surface
- Allow proper dwell time (follow product instructions)
- Work in sections if needed to prevent drying
- Keep an eye on overspray to protect paint
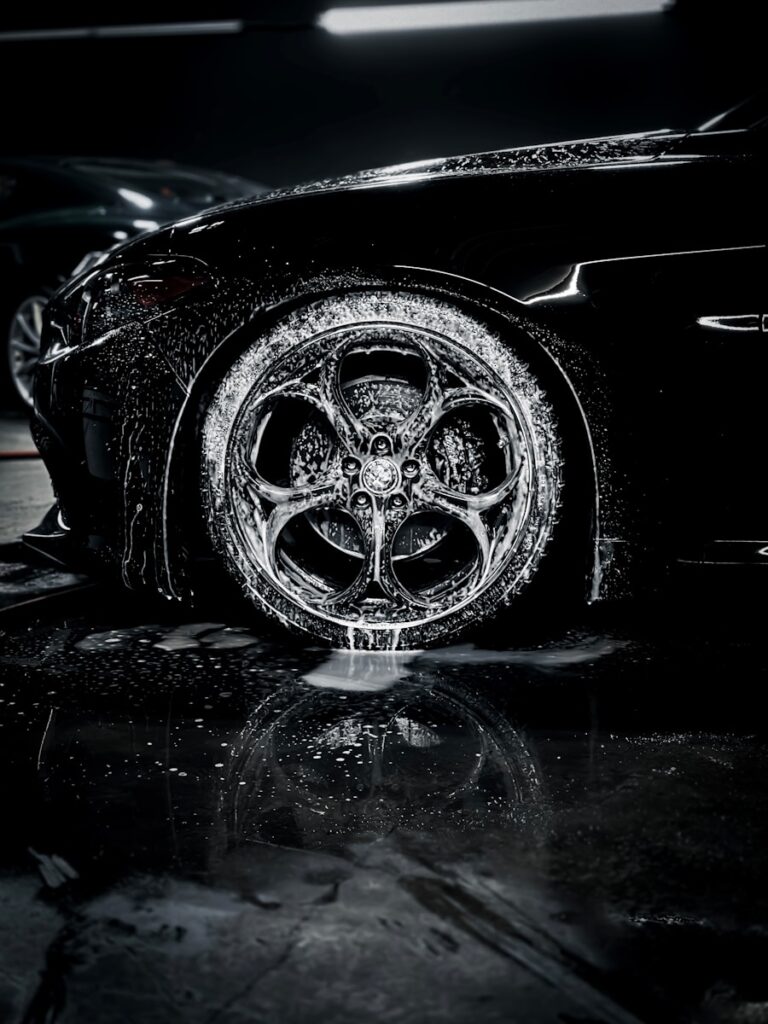
5. Scrubbing, Rinsing, and Finishing Touches
After the cleaner has had time to work, it’s time for the scrubbing part. Using your medium-soft brush, go over the entire wheel with steady, moderate pressure focus on the areas with the heaviest buildup, but don’t scrub like you’re trying to remove paint. The chemical has already loosened most of the grime, so you’re just helping lift it away. For detailed or delicate spots, switch to the softer boar’s hair brush or microfiber mitt to avoid any chance of scratching. If some stubborn patches remain after one pass, don’t worry just reapply cleaner, let it dwell again, and give it another gentle scrub.
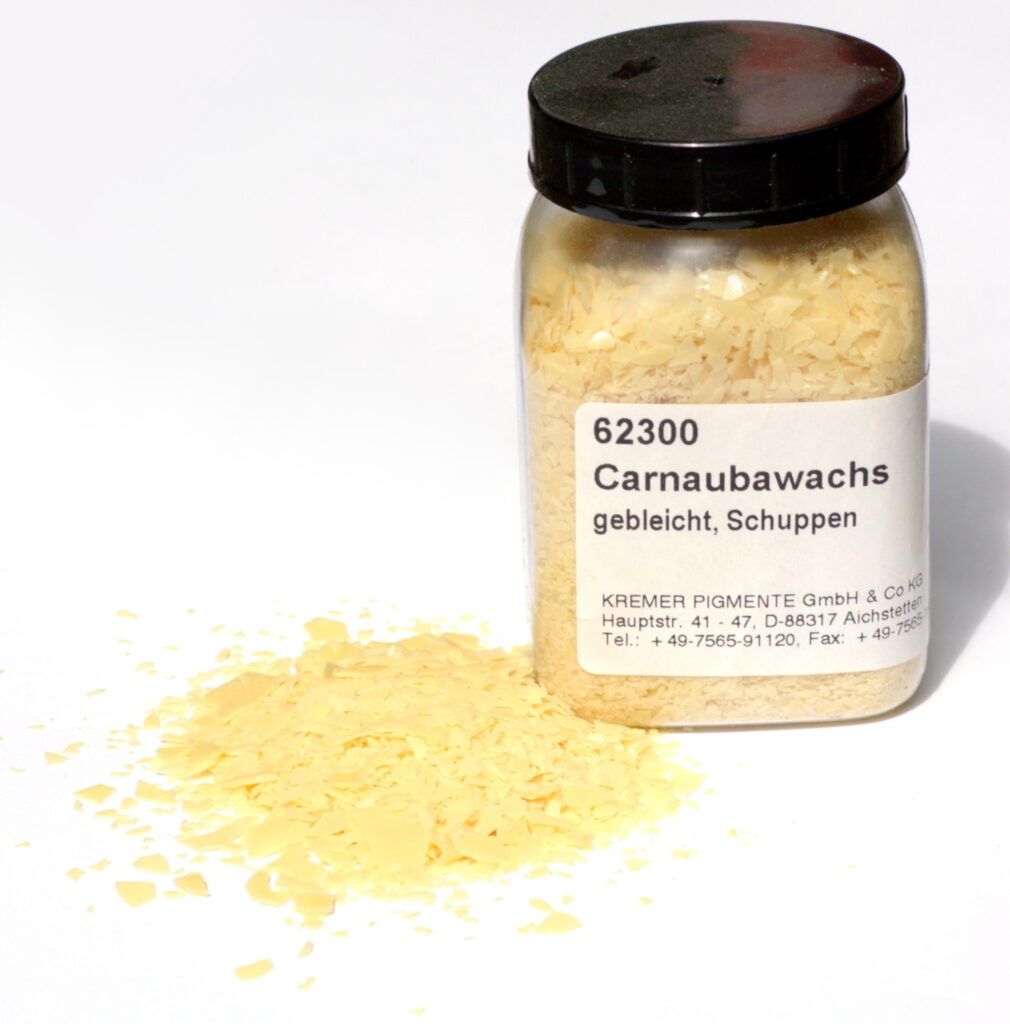
Once you’re satisfied, rinse everything thoroughly with the hose. Make sure you flush out every nook and cranny so no cleaner or dirt residue is left behind leftover product can cause spotting or even corrosion over time. After rinsing, dry the wheels completely with a clean microfiber towel to prevent water spots. As a final step, consider applying a layer of carnauba wax or a dedicated wheel sealant. This adds a nice shine and creates a protective barrier that makes future brake dust much easier to clean off next time.
Final Tips for Perfect Results:
- Scrub gently and methodically
- Rinse completely to remove all residue
- Dry thoroughly with microfiber towel
- Repeat cleaner and scrub for tough spots
- Apply wax or sealant for lasting protection
6. Overcoming Hard-to-cleanse Brake Dust and Buildup
As sometimes you may have done a great job with your usual cleaner and your brush and still, those wheels have dark stubborn spots of brake dust that will not come off. This is extremely widespread on vehicles that spend much of their time in urban traffic, in stop-and-go traffic, or with the performance brakes that generate an increased amount of dust. Brake dust can be heated by the heat, and its metallic components can become a sort of thin film of paint. Once this occurs, it is instinctive not to rush into panic and pick up something extremely harsh, but the patience and the correct course of action will most likely win.
Get back to the fundamentals, but get it a notch higher. Wipe off the wheel, use a stronger or specific brake dust remover (one that is safe on your type of wheel) and take the additional dwell time perhaps 3-5 minutes when the label permits. Apply your brush a little more to the areas of problems, in little circles instead of sweeps. When it is bad bad, some will do two-stage cleaning, one with a standard pH-neutral cleaner to loosen the surface, and then the stronger one. It is important to wash thoroughly between each step and never leave anything on the surface.
Suggestions on how to address difficult brake dust:
- Heavy build up should be used with specific brake dust remover.
- Increase sojourn time on problematical areas.
- Clean in small portions with concentrated scrubbing.
- Check (two-stage) cleaning, as necessary.
- Cleanse between applications.
7. Safety of Your Wheels after Cleaning
The sensation of cleaning the wheels is very satisfying, and maintaining it costs a bit more. Newly cleaned rims are like fresh paint without a coat of protection and brake dust will begin to stick once again almost instantly, of course under dusty or salty weather. The witest thing to do is to apply a protective cover immediately after being dry. A carnauba-based wax is a good type of wax that can be used on most wheels and provide them with a pleasant shine in addition to making the surface less sticky to future grime. To achieve even better results, a great number of detailers apply special rims-specific wheel sealants or even ceramic ones.
These products provide a coating that keeps water, dust and contaminants away thus when you clean them next all you need is to rinse and wipe every time. Use the protectant when the wheels are still slightly cool and dry according to the instructions of the number of coats and drying time. This may cost 10-15 minutes during your session but the end result is savings of hours in the long term. These kinds of wheels have been found to remain significantly cleaner over weeks.
Most Effective Clean Wheel Protection:
- Use carnauba wax to make it shiny and add some basic protection.
- Apply wheel sealants with the help of wheel specific sealant.
- Think about the ceramic wheel coatings to have the maximum life.
- Apply only on cool dry wheels following cleaning.
- Repaint after every 23 months to achieve optimal performance.

8. Cleaning Advice and Frequency of Cleaning
It is not about taking the gigantic deep clean every weekend, it is about the lighter kind of care that is easy and constant to the point that it does not result in heavy buildup. The number of times you are expected to clean is determined by your driving style, but in the majority of cases, once in two weeks is a good goal to achieve. Once per week can be better in case you drive mostly in the city, on highways with much braking or in some place that has many road salts or dust. The difference between quick rinses and spot cleaning between full sessions is remarkable.
It should become a routine to clean the wheels when you are washing the car particularly the low area where brake dust is much accumulated. Apply a special wheel mitt or brush, otherwise you will leave the dirt on the body on the rims. Keep cleaning supplies such as mop, rags, etc. in just a single bucket or bag to avoid the hassle of getting them. With time, it becomes a habit and your wheels will always be shiny with little effort. Besides, it is easier to remove small accumulation early on, which is why you hardly ever require the heavy-duty one.
Shrewd Chagrins in Long-term Wheel-care:
- Wash after every 1-2 weeks under different environmental driving conditions.
- Wash the wheels at the usual car wash.
- Use different tools to prevent cross-contamination.
- Keep the supplies in one place.
- Deep clean in between spot-clean problem areas.
9. The List of The Most Popular Mistakes to be avoided when cleaning Wheels
However, despite the intentions, it is not hard to make minor mistakes which can turn a good cleaning process into a headache or even ruin your wheels. Cleaning hot wheels immediately after driving is one of the greatest errors that individuals commit. The heat is making cleaners dry too quick, spotty or makes them more aggressive on the finish. It is always best to allow a cooling of the rims and to park in shade 30 minutes or so if necessary. The second mistake is to apply domestic cleansers such as dish soap or general purpose detergents; it may be tempting to think that they are tough enough to get the job done, however, in most cases, they are demazing protective coatings or leaving behind traces that trap more dirt.
Using the wrong brush is another frequent issue those stiff tire brushes might feel effective, but they scratch alloys and painted surfaces easily. Also, skipping the initial rinse or letting cleaner overspray hit the car’s paint without immediate removal can lead to etching or dull spots. And finally, rushing the drying step: leaving wheels to air-dry often results in water spots that are hard to remove later. Taking your time and double-checking each step helps avoid these pitfalls and keeps your rims in top shape.
Mistakes to Steer Clear Of:
- Cleaning hot wheels right after driving
- Using household cleaners or dish soap
- Scrubbing with stiff tire brushes
- Ignoring overspray on paintwork
- Skipping thorough drying with microfiber

10. Final Thoughts and Keeping Your Wheels Looking Great Long-Term
Cleaning your wheels properly isn’t just about making your car look nicer it’s about protecting an expensive part of the vehicle that takes a beating every day. Brake dust is corrosive, road salt is brutal in winter, and everyday grime adds up quickly. By following a consistent routine, using the right products and tools, and adding that protective layer, you extend the life of your rims and save money on repairs or replacements down the line. I’ve seen cars where the owner neglected the wheels for years, leading to etched finishes that needed refinishing, while others who stayed on top of it still have factory-fresh looking alloys after a decade.
The best part is that once you get into the habit, it becomes quicker and easier each time. A full deep clean every couple of weeks, plus quick rinses during regular washes, keeps everything under control without taking hours. Your car will always look more polished, you’ll feel better pulling up somewhere, and you’ll know you’re taking good care of it. If you have fancy alloys or chrome, consider investing in a ceramic wheel coating for even longer-lasting protection it’s a game-changer for low-maintenance shine.
Long-Term Wheel Care Summary:
- Establish a regular cleaning schedule
- Always prioritize protection after cleaning
- Use correct tools and products consistently
- Address buildup early to avoid heavy work
- Enjoy the lasting shine and car pride


